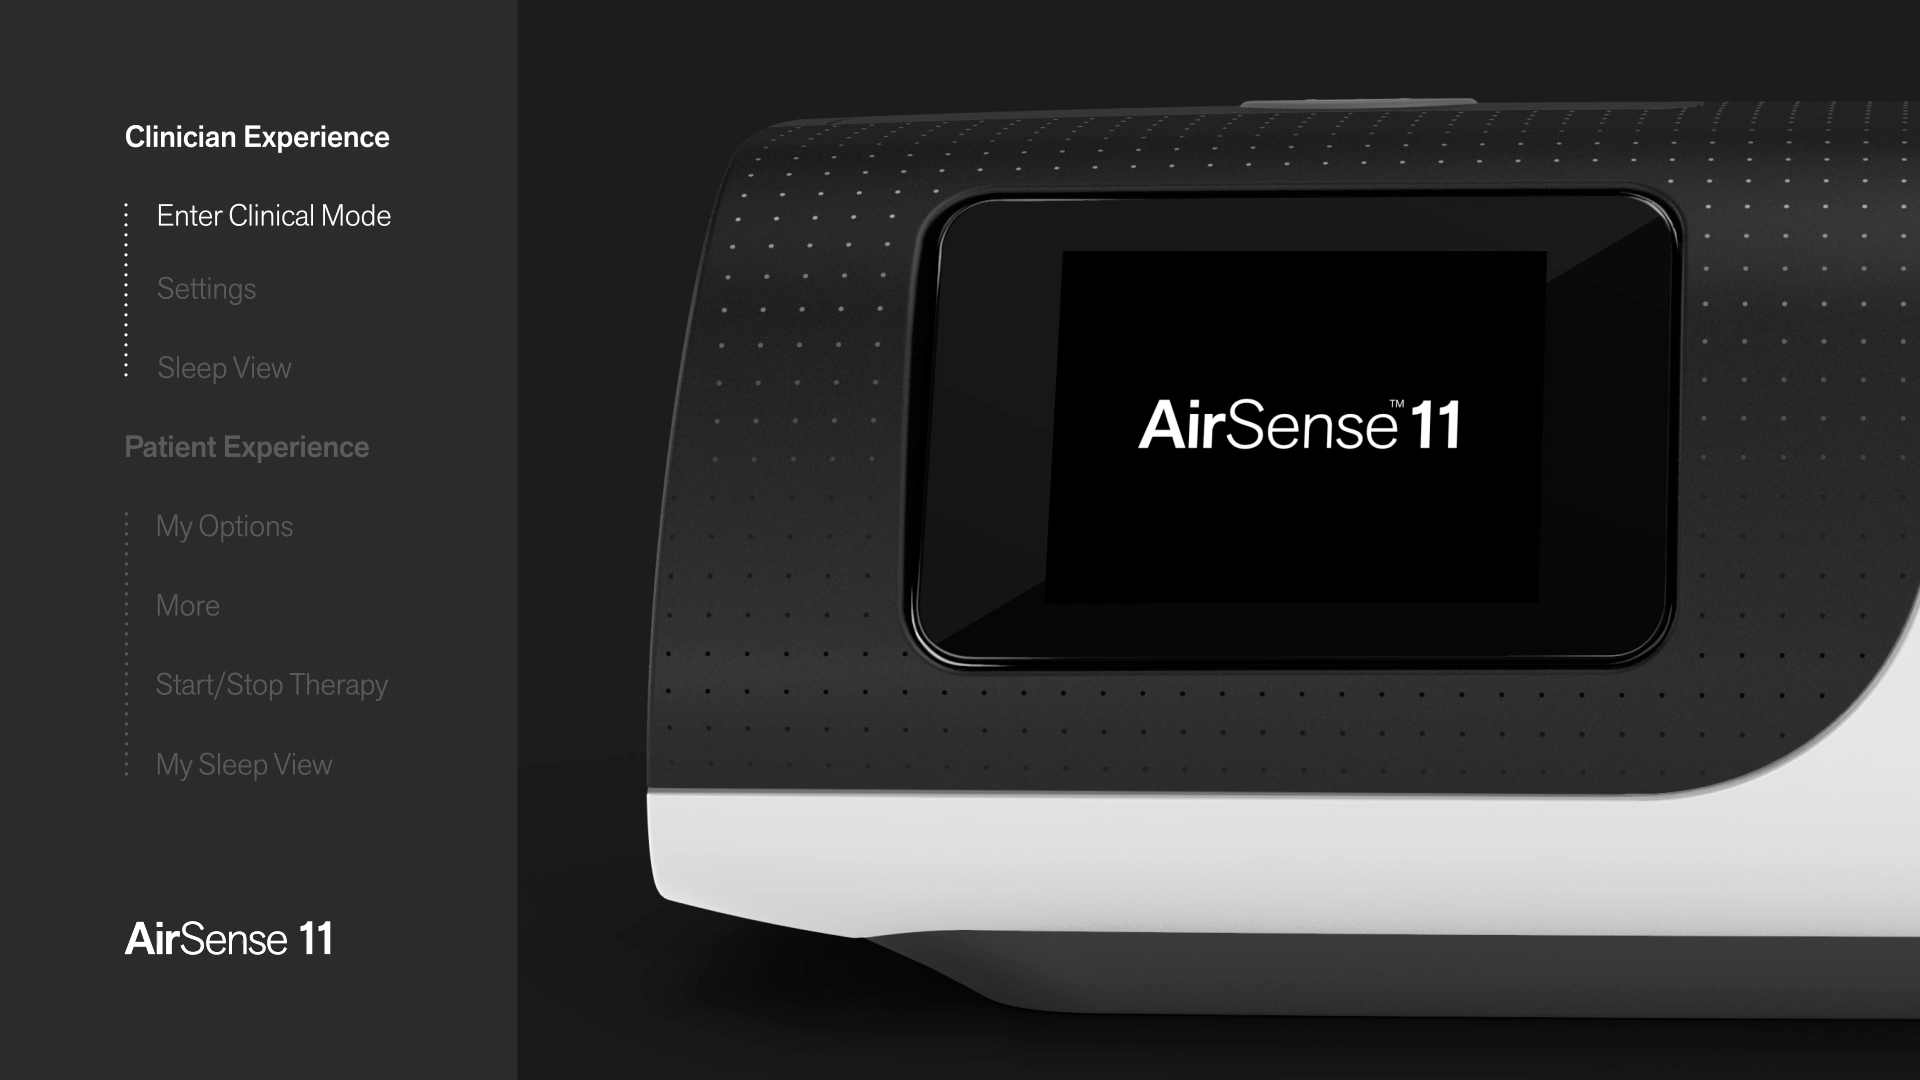
AirSense 11
Embedded software
Low RAM
320 x 240 pixels
28 languages
4 million users
AirSense 11 is ResMed’s next generation CPAP device for treating Obstructive Sleep Apnea. My challenge was to design an engaging user interface for both clinicians and patients on embedded software with technical specs comparable to a Game Boy Color. This meant virtually no animation, no alpha channels (transparency) and no dynamic text wrapping.

THE USERS

Clinicians
Clinicians set prescriptions for patients directly on the device. They also teach patients how to use the device during a very time-restricted consultation.

Respiratory Therapists
In Sleep Labs and acute care settings, Respiratory Therapists titrate and monitor patients overnight on the device while they sleep.

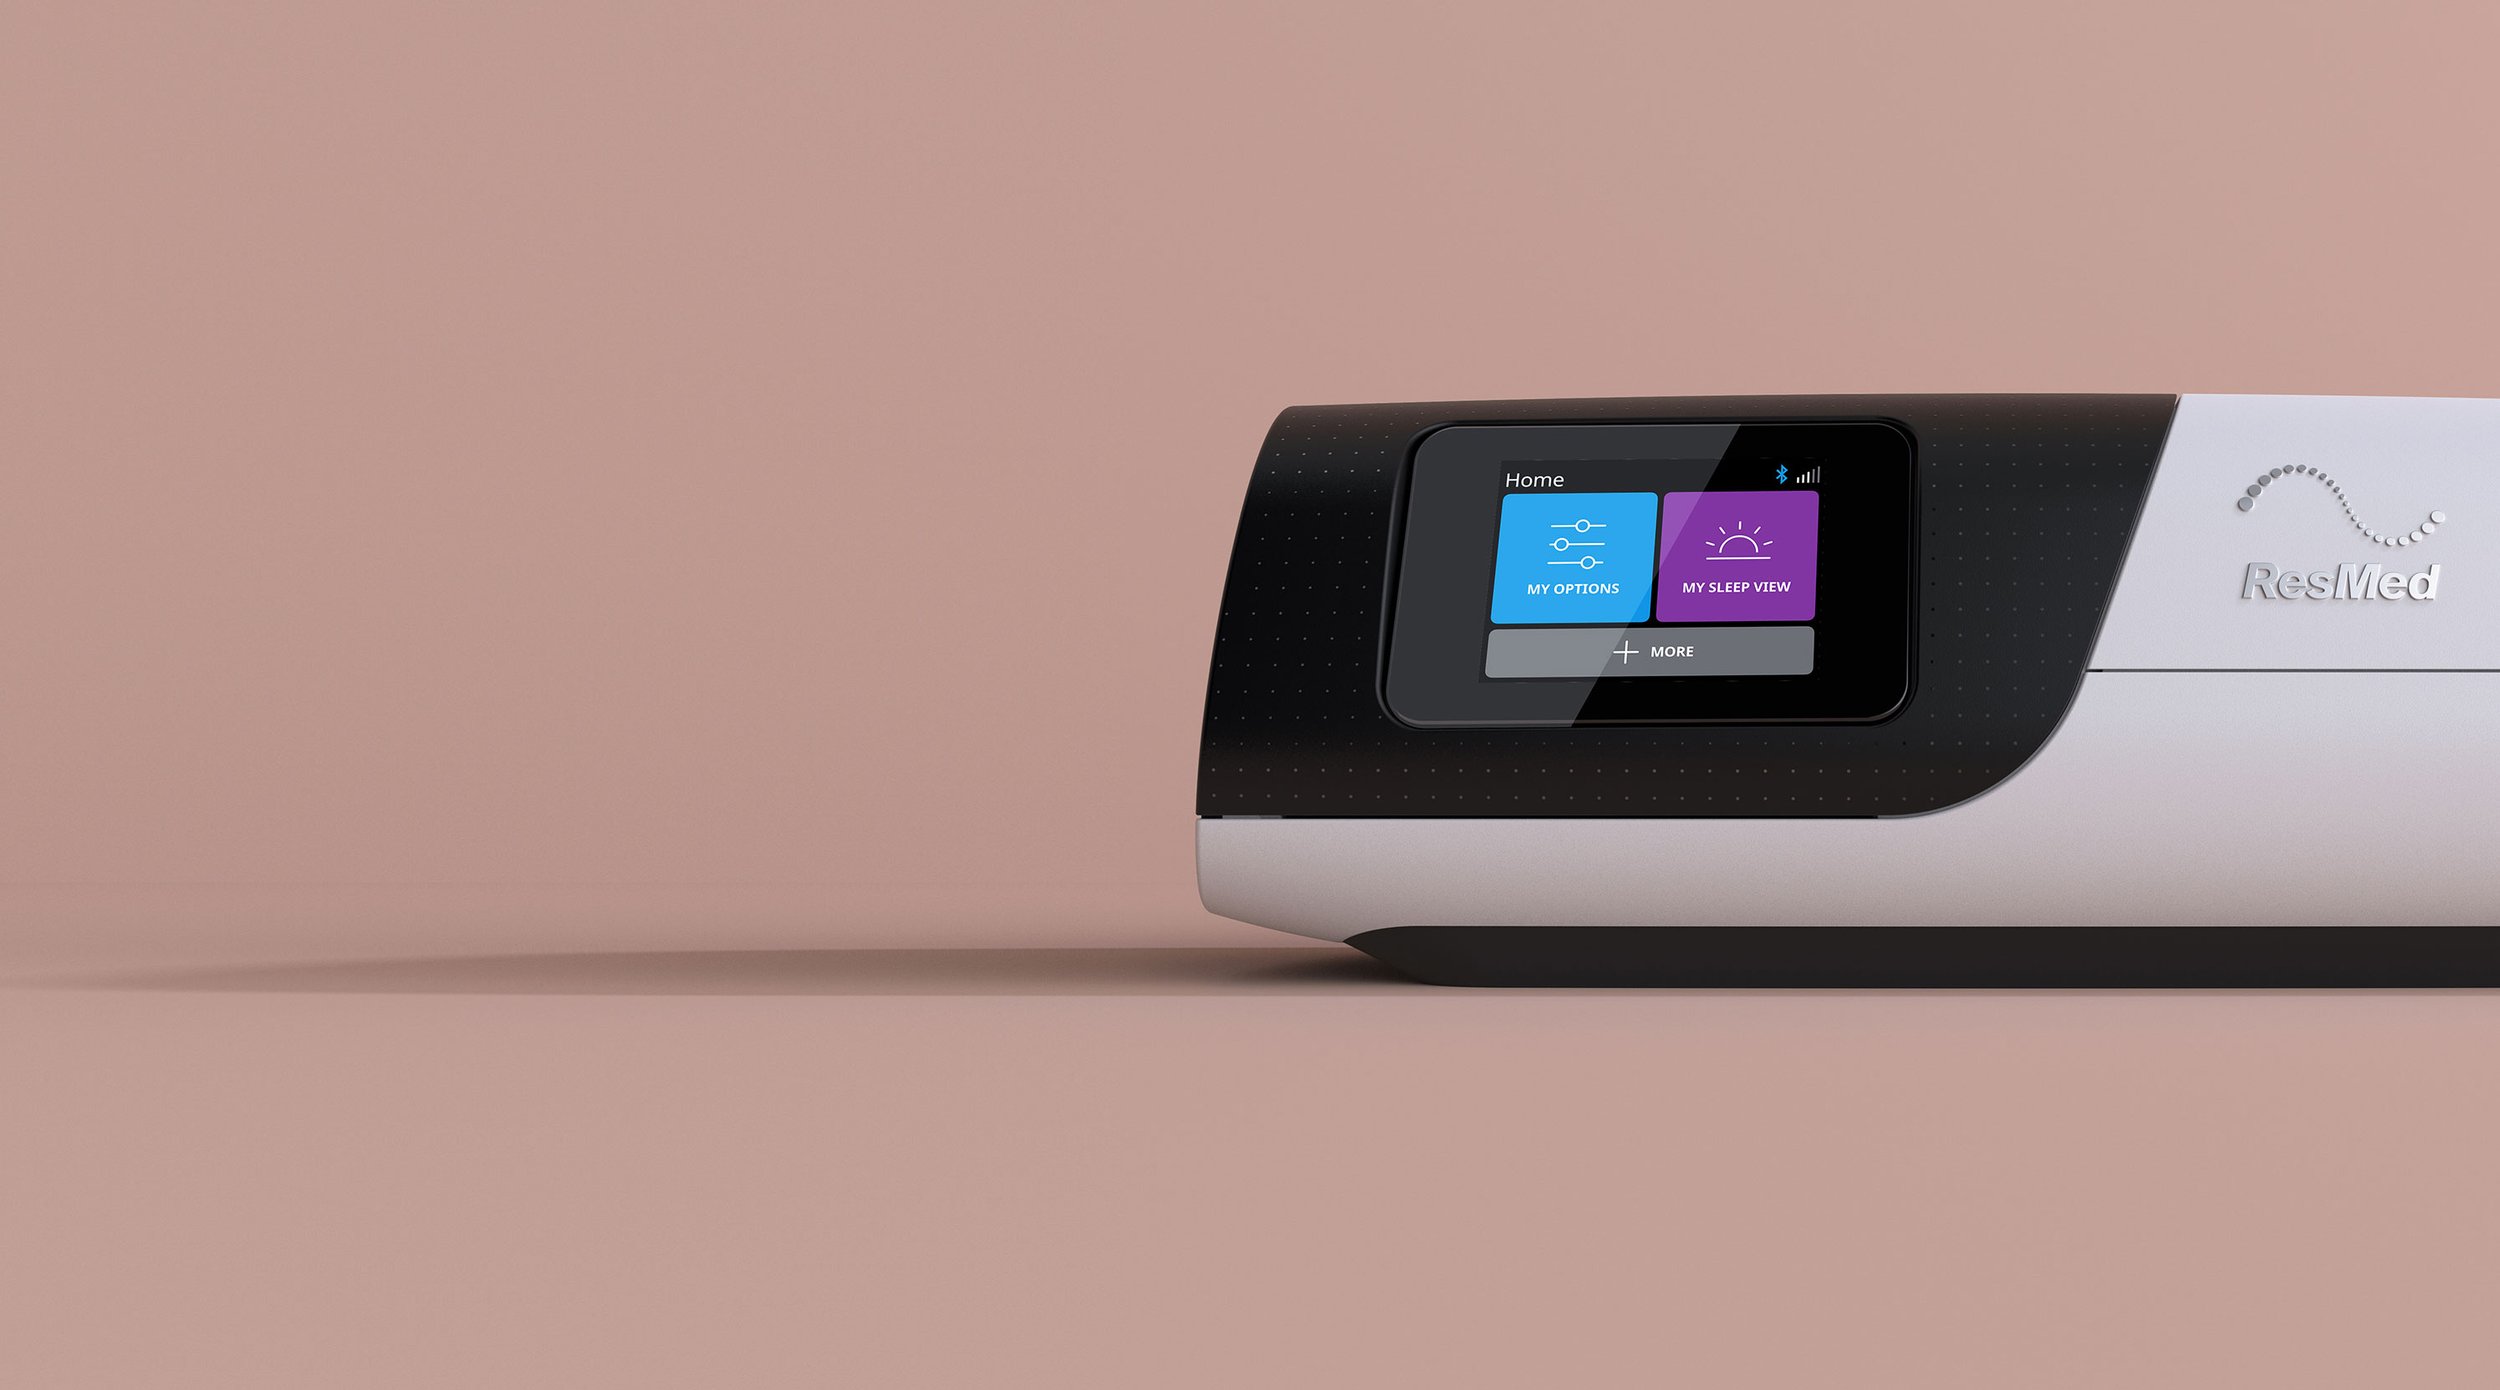
Patients
At home patients use the device every night to treat their sleep apnea and monitor their therapy on-going.

DESIGNING FOR TOUCH
The predecessor to AirSense 11, AirSense 10, utilised a non-touch screen with a mechanical dial. Translating what was so successful in AirSense 10 across to a different style of interaction while capitalising on the opportunities of a touch interface was vital.

DESIGNING FOR ACCESSIBILITY
Even with the limited real estate, it was imperative that the UI conform to accessibility standards. For this I used Google’s Material UI standards as a benchmark. These standards applied to everything including colours, contrast ratios, text and button sizes.
BUILDING A ROBUST FRAMEWORK
In order to support 28 languages, including some non-latin scripts, the UI patterns and architecture had to be accommodating without compromising. This meant developing UI elements that were not only capable of handling character-heavy languages but also future variants of AirSense 11 that feature different settings, interdependency rules, values and nodes.

HABITUAL USERS
Clinicians, who set up more than 15 devices per day, grow accustomed to their workflows and the devices they interact with. During consultations with patients, clinicians are time restricted and mainly focus on helping a patient understand the therapy they are about to undertake. Therefore changes to these devices need to be intuitive and unobstructive in order to be embraced.
“You don’t want people waiting while you’re setting up the device. Just want to do it so you have more time with the patient”

CLINICAL SETTINGS
In translating the clinical settings architecture from AirSense 10 to AirSense 11 I saw an opportunity to improve the UX of setting patient prescriptions using the touch screen.
In AirSense 10, the device pressure was set as seperate Min and Max values. A user had to wind the dial up through increments of 0.2 to reach the desired value and then press the dial to confirm.
In AirSense 11, I consolidated these two settings into one setting called Pressure Range. I then utilised the full screen to design a calendar-style picker. This allowed users to complete a pressure range setting in a little as 3 presses.
The new Pressure Range design would become ResMed’s first UI element to receive a utility patent.
USER TESTING
Throughout the entirety of the project the clinical settings was user tested and improved upon incrementally. It was vital that the process of setting prescriptions was simple to understand and execute.
In testing, the new designs tested extremely well with a variety of clinicians. In one round of testing we found:
All prescriptions were set correctly without assistance. Users understood the design pattern and were able to intuitively set the prescriptions.
The average ease of use rating was 9.4 out of 10
7 out of 8 users rated the experience of setting prescriptions the same or better than AirSense 10
“Reminds me of when you’re booking a flight…pretty intuitive that the first number you select is the min pressure and the second number is the max pressure”
— Participant
“You don’t want people waiting while you’re setting up the device. Just want to do it so you have more time with the patient”
— Participant
AirSense 11 UI Walkthrough